Flat twists are one of the easiest and most versatile protective styles you can try at home. Perfect for beginners, this hairstyle requires minimal tools, little time, and no salon appointment. If you’ve been wanting to experiment with natural styles while protecting your hair, here’s a simple step-by-step guide to mastering DIY flat twists.
What Are Flat Twists?
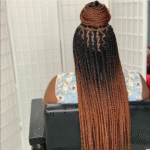
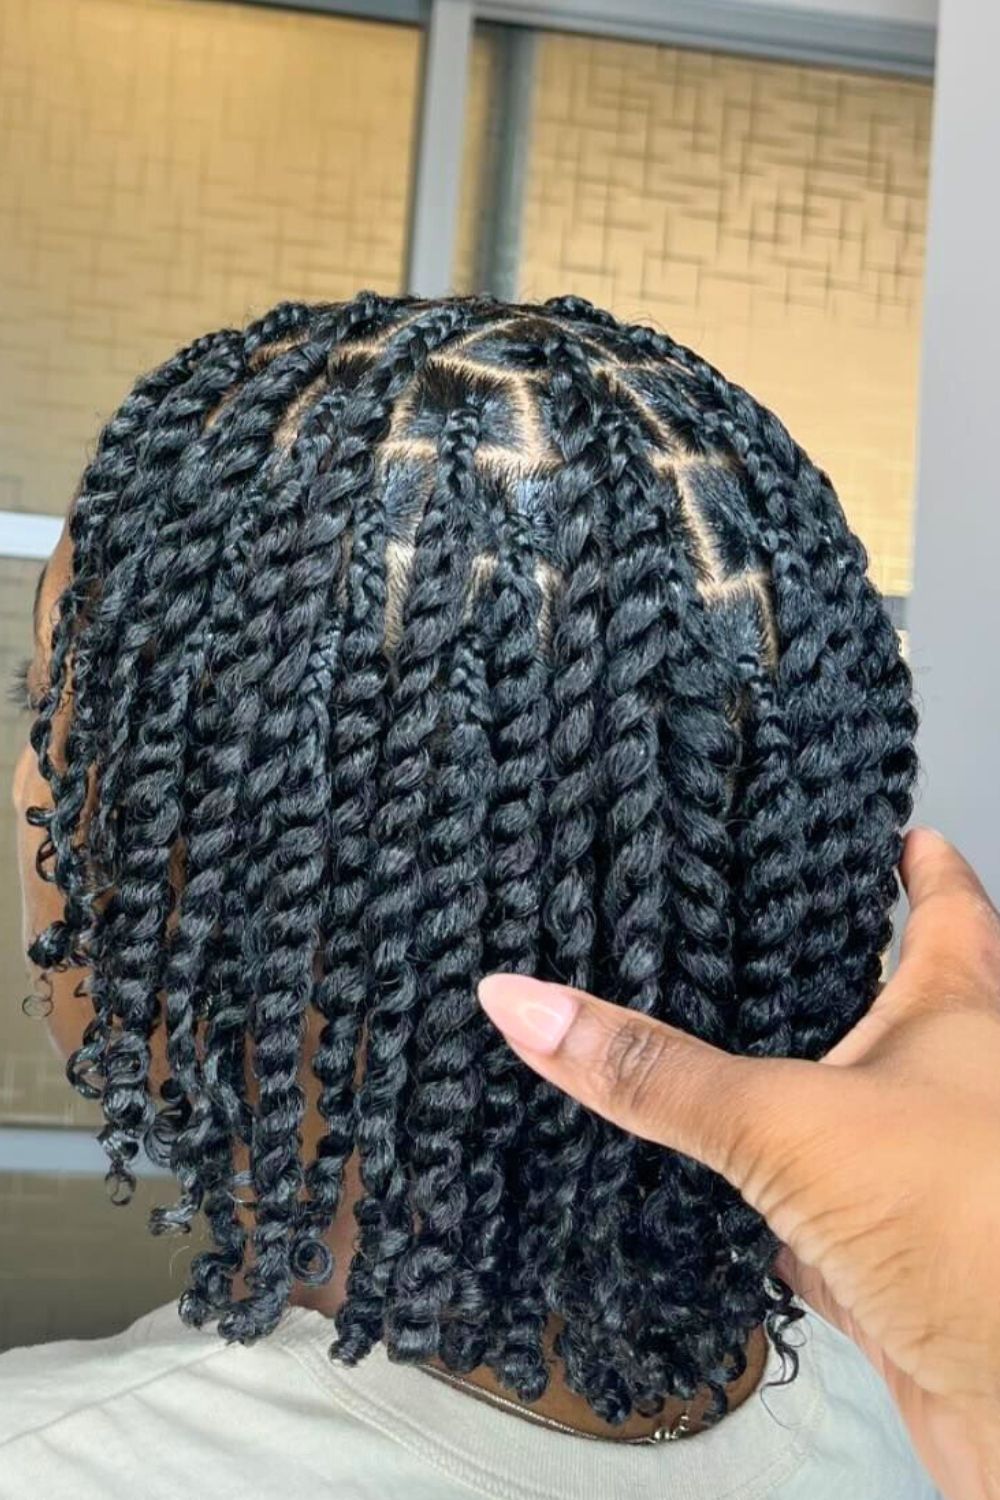
Flat twists are similar to cornrows, but instead of three strands, they’re created with just two. This makes them quicker, easier, and more beginner-friendly while still offering a polished, defined look. You can wear them as a full style, a base for wigs, or unravel them later for a gorgeous twist-out.
What You’ll Need
Before starting, gather these essentials:
- Wide-tooth comb and rat-tail comb
- Hair clips for sectioning
- Moisturizer or leave-in conditioner
- Styling gel or cream for hold
- Optional: edge control for a sleek finish
Step-by-Step Guide
- Prep Your Hair – Start with clean, detangled, and slightly damp hair. Apply leave-in conditioner and a lightweight oil to lock in moisture.
- Section Your Hair – Use your rat-tail comb to create a neat part. Clip the rest of your hair out of the way.
- Start Twisting – Take two small strands at the front of the section. Begin twisting them over each other while adding small amounts of hair as you move backward, keeping the twist flat against your scalp.
- Continue the Process – Work through each section, ensuring consistent tension for a neat look.
- Secure the Ends – Once you reach the end of each twist, twist the remaining hair to the tip and secure it with a small elastic if needed.
- Finishing Touches – Apply styling gel or edge control for smooth edges.
Why Flat Twists Are Perfect for Beginners
Flat twists are low-maintenance, protective, and versatile. They can last up to a week or more, and when unraveled, they leave you with defined, bouncy curls. For beginners, they’re an easy entry into the world of protective styling without needing professional help.